

As you know, Puppeteer is a high-level API to control headless Chrome, and it's probably one of the most popular web scraping tools on the Internet. The only problem is that an average web developer might be overloaded by tons of possible settings for a proper web scraping setup.
I want to share 6 handy and pretty obvious tricks that should help web developers to increase web scraper success rate, improve performance and avoid bans.
What is Puppeteer?
Puppeteer is a Node library which provides a high-level API to control Chrome or Chromium over the DevTools Protocol. Puppeteer runs headless by default, but can be configured to run full (non-headless) Chrome or Chromium.
The quote above means that Puppeteer allows automating your data extraction tasks and simulates real user behavior to avoid bans while web scraping. Also, Chromium will render Javascript, which is helpful for single-page applications (SPA) web scraping.
For more information, please, visit the official website.
6 Puppeteer tricks for Web Scraping
Since Puppeteer is rather complicated, many preferences and configurations a developer need to learn to properly scrape the web and reach a great success rate. I've prepared the top 6 obvious web scraping veterans tips that most regular web scraper developers often forget.
Headless mode
Puppeteer allows the user to activate it in a headless mode. Basically, it's a default Puppeteer's mode. This stops the browser from rendering on the screen and saves a lot of resources. It comes very skillfully when using the Puppeteer inside the Docker as it's impossible to use it in a full mode without xvfb (virtual framebuffer) or an alternative tool.
To start Puppeteer in a headless mode, we will need to add headless: true to the launch arguments or ignore passing this line to launch it in a headless mode by default.
const puppeteer = require('puppeteer');

(async () => {
  const browser = await puppeteer.launch({
      headless: true
  });
  const page = await browser.newPage();
  await page.goto('https://news.ycombinator.com', {waitUntil: 'networkidle2'});
  await page.pdf({path: 'hn.pdf', format: 'A4'});

  await browser.close();
})();
Avoid creating a new tab
The most common misunderstanding that affects web scraper performance is opening a new Chromium tab on Puppeteer after browser launch. This common mistake results from many Puppeteer tutorials, and StackOverflow answers just code samples, not production-grade solutions.
This line looks like the following one:
const page = await browser.newPage();
To check this trick just run the following code after the browser launch. It shows the opened tabs count:
console.log((await browser.pages()).length);
When launching a browser on Puppeteer, it launches with an open tab. To access the already opened page:
const page = (await browser.pages())[0];
Proxy setup
It's important to use proxies while scraping at scale. When you try to scrape a website and visit over a certain number of pages, the rate-limiting defense mechanism will block your visits. Some sites will return 4** status codes range when recognizing a scraping attempt or return an empty page with a Captcha check. A proxy allows to avoid IP ban and come over the rate limits while accessing a target site. You can check out the extended version of the Puppeteer proxy setup article or follow the useful snippets below.
When launching Puppeteer, you will need to give the given address as an array object with the field --proxy-server=<address> which will send this parameter to the headless Chrome instance directly:
Setting up unauthenticated proxy:
const puppeteer = require('puppeteer');

(async() => {

  const browser = await puppeteer.launch({
     args: [ '--proxy-server=http://10.10.10.10:8080' ]
  });

  const page = (await browser.pages())[0];
  await page.goto('https://httpbin.org/ip');
  await browser.close();
})();
For a proxy with a username/password you should pass the credentials on the page object itself. Use the page.authenticate() method:
const puppeteer = require('puppeteer');

(async() => {

  const browser = await puppeteer.launch({
     args: [ '--proxy-server=http://10.10.10.10:8080' ]
  });

  const page = await browser.newPage();
  await page.authenticate({
      username: 'USERNAME',
      password: 'PASSWORD'
  });
  await page.goto('https://httpbin.org/ip');
  await browser.close();
})();
You can try our free proxies to check out this code snippets
Setting up cookies and local storage data
The HTTP protocol is stateless, but cookies and the WebStorage API allow it to keep context consistent over the session flow. It's very important to be able to store and re-use session data while scraping a site that requires authentication or authorization. Puppeteer's API becomes very helpful while dealing with a cookies flow control:
The following code snippet simulates the real cookies flow with help of HTTPBin:
const puppeteer = require('puppeteer');
const fs = require('fs');

(async () => {
  const browser = await puppeteer.launch();
  const page = (await browser.pages())[0];

  // Simulate 2 cookies assertion: a=1, b=2
  await page.goto('http://httpbin.org/cookies/set?a=1&b=2');

  const cookies = await page.cookies();
  const cookieJson = JSON.stringify(cookies);

  // And save this data to a JSON file
  fs.writeFileSync('httpbin-cookies.json', cookieJson);

  await browser.close();
})()
We are now able to read the file later and load the cookies into our new browser session:
const puppeteer = require('puppeteer');
const fs = require('fs');

(async () => {
  const browser = await puppeteer.launch();
  const page = (await browser.pages())[0];

  // Saved cookies reading
  const cookies = fs.readFileSync('httpbin-cookies.json', 'utf8');

  const deserializedCookies = JSON.parse(cookies);
  await page.setCookie(...deserializedCookies);

  // Check the result
  await page.goto('http://httpbin.org/cookies');

  await browser.close();
})()
Cookies come with an expiration date, so make sure the ones you are trying to use not expired yet.
To access the local storage you need to evaluate a custom Javascript code inside the page's context:
To store the local storage data:
  const localStorage = await page.evaluate(() => JSON.stringify(window.localStorage));
  fs.writeFileSync('localStorage.json', localStorage);
To read and pass inside the page context back:
  const localStorage = fs.readFileSync('localStorage.json', 'utf8');

  const deserializedStorage = JSON.parse(localStorage);
  await page.evaluate(deserializedStorage => {
    for (const key in deserializedStorage) {
        localStorage.setItem(key, deserializedStorage[key]);
    }
  }, deserializedStorage);
Scrape like a ninja - use the stealth plugin
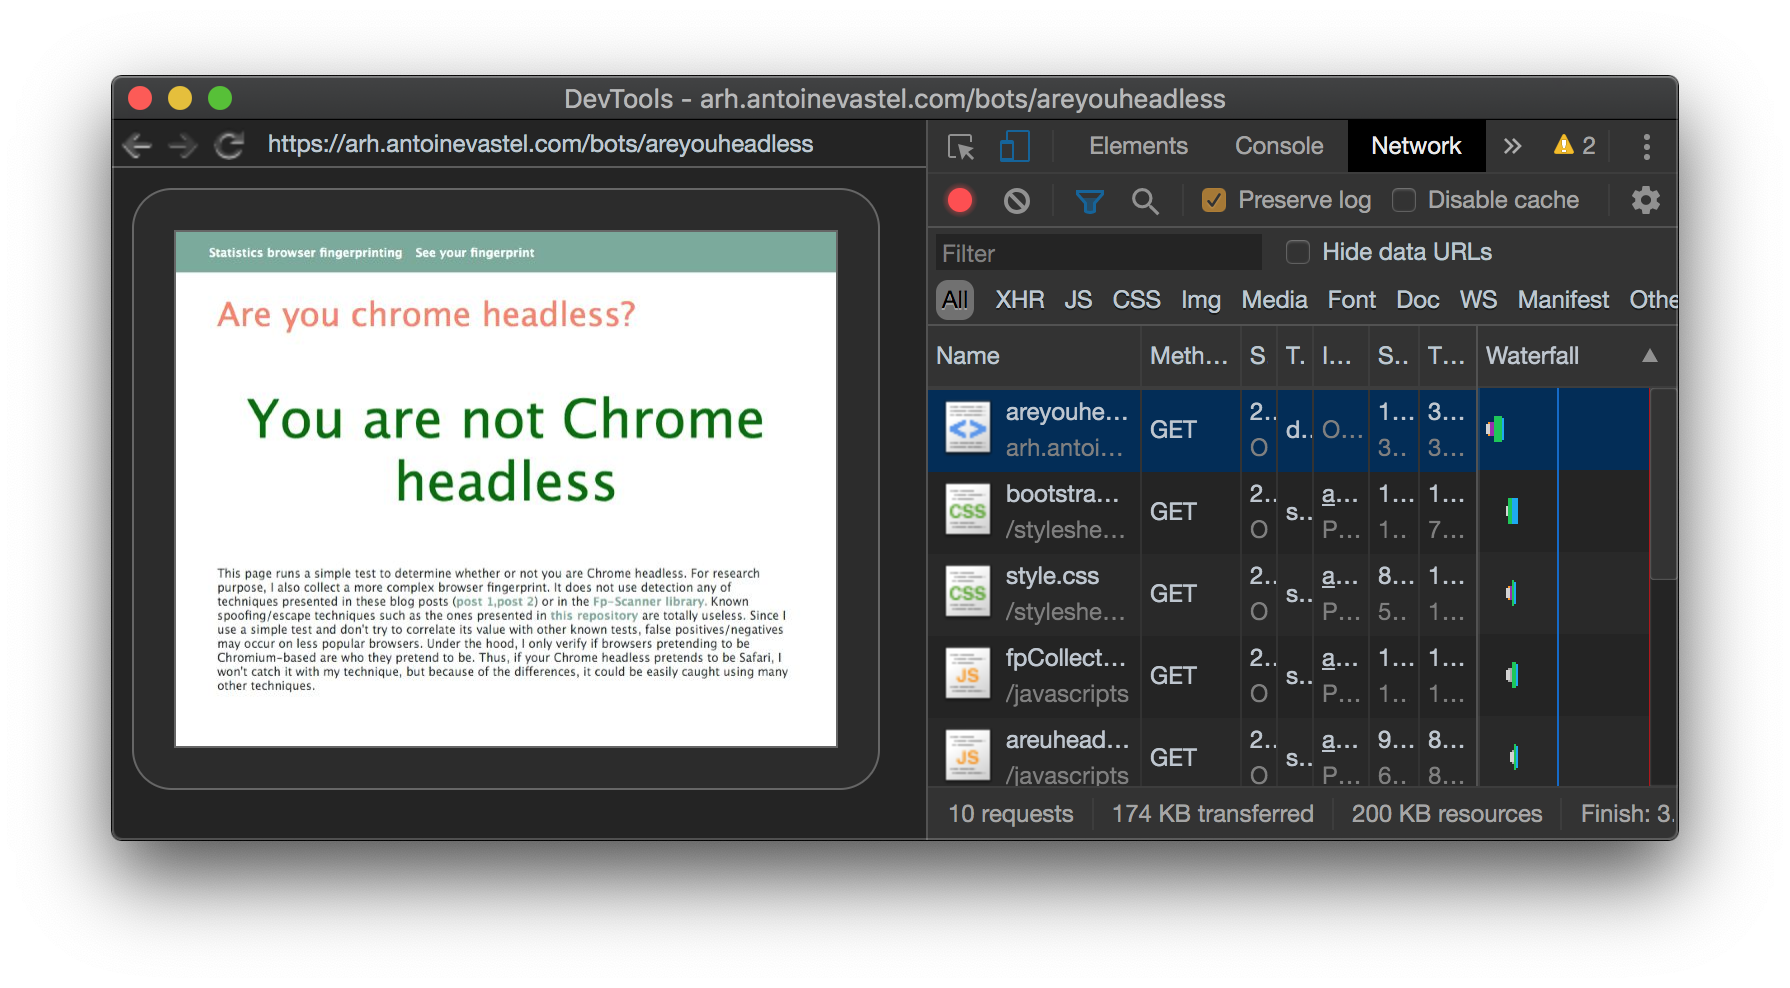
It might be hard to hide all the shreds of evidence of headless Chrome usage while scraping: web scraper developer should set screen resolution properly, a user agent should be configured to avoid fingerprinting, all the settings should look like a real browser. puppeteer-extra-plugin-stealth handles all the complications for you with just a few lines of code:
Setup:
yarn add puppeteer puppeteer-extra puppeteer-extra-plugin-stealth
# - or -
npm install puppeteer puppeteer-extra puppeteer-extra-plugin-stealth
Usage:
// puppeteer-extra is a wrapper around puppeteer,
// it augments the installed puppeteer with plugin functionality
const puppeteer = require('puppeteer-extra');

// add stealth plugin and use defaults (all evasion techniques)
const StealthPlugin = require('puppeteer-extra-plugin-stealth');
puppeteer.use(StealthPlugin());

// puppeteer usage as normal
puppeteer.launch({ headless: true }).then(async browser => {
  console.log('Check the bot tests..');
  const page = await browser.newPage();
  await page.goto('https://bot.sannysoft.com');
  await page.waitFor(5000);
  await page.screenshot({ path: 'bot-test-result.png', fullPage: true });
  await browser.close();
  console.log(`All done, check the bot result screenshot. `);
});
Using cloud API
It's pretty important to use a reliable solution while web scraping at scale, so ScrapingAnt have created a simple API which will take care about rotating proxies, detection avoiding and headless Chrome for you.
You can check out how simple it is with the ScrapingAnt Javascript client:
const ScrapingAntClient = require('@scrapingant/scrapingant-client');

const client = new ScrapingAntClient({ apiKey: '<YOUR-SCRAPINGANT-API-KEY>' });

// Scrape the ScrapingAnt's main page
client.scrape('https://scrapingant.com')
    .then(res => console.log(res))
    .catch(err => console.error(err.message));
Or with a plain Javascript request to API (a bit more boilerplate code):
var http = require("https");

var options = {
   "method": "POST",
   "hostname": "api.scrapingant.com",
   "port": null,
   "path": "/v1/general",
   "headers": {
       "x-api-key": "<YOUR-SCRAPINGANT-API-KEY>",
       "content-type": "application/json",
       "accept": "application/json",
       "useQueryString": true
   }
};

var req = http.request(options, function (res) {
   var chunks = [];

   res.on("data", function (chunk) {
       chunks.push(chunk);
   });

   res.on("end", function () {
       var body = Buffer.concat(chunks);
       console.log(body.toString());
   });
});

req.write(JSON.stringify({
    url: 'https://scrapingant.com',
}));
req.end();
With ScrapingAnt Web Scraping API, you can forget about any complications with IP rotation, and the internal anti-scraping avoiding mechanisms will help you to not be detected by Cloudflare. You can use it for free, follow here to sign in and get your API token.