
If you want to scrape websites without the hassle of inspecting elements and finding selectors, AutoScraper is the Python library for you. Simply provide the text-based keywords you want to extract, and AutoScraper will handle the rest.
In this article, you'll learn how to use the AutoScraper library for easy content extraction from websites. We will cover how to extract data from multiple pages, discuss some limitations of AutoScraper, and explore solutions to avoid getting blocked while scraping.
What Is AutoScraper?
AutoScraper is an open-source Python library that is smart, fast, and lightweight. Unlike traditional web scraping tools that require you to write code to parse HTML content, AutoScraper learns the structure of a web page and automatically generates rules to extract the desired information based on the examples you provide. With minimal setup and less coding involved, even beginners can use it without needing in-depth knowledge of web scraping.
How to Use Python AutoScraper for Web Scraping
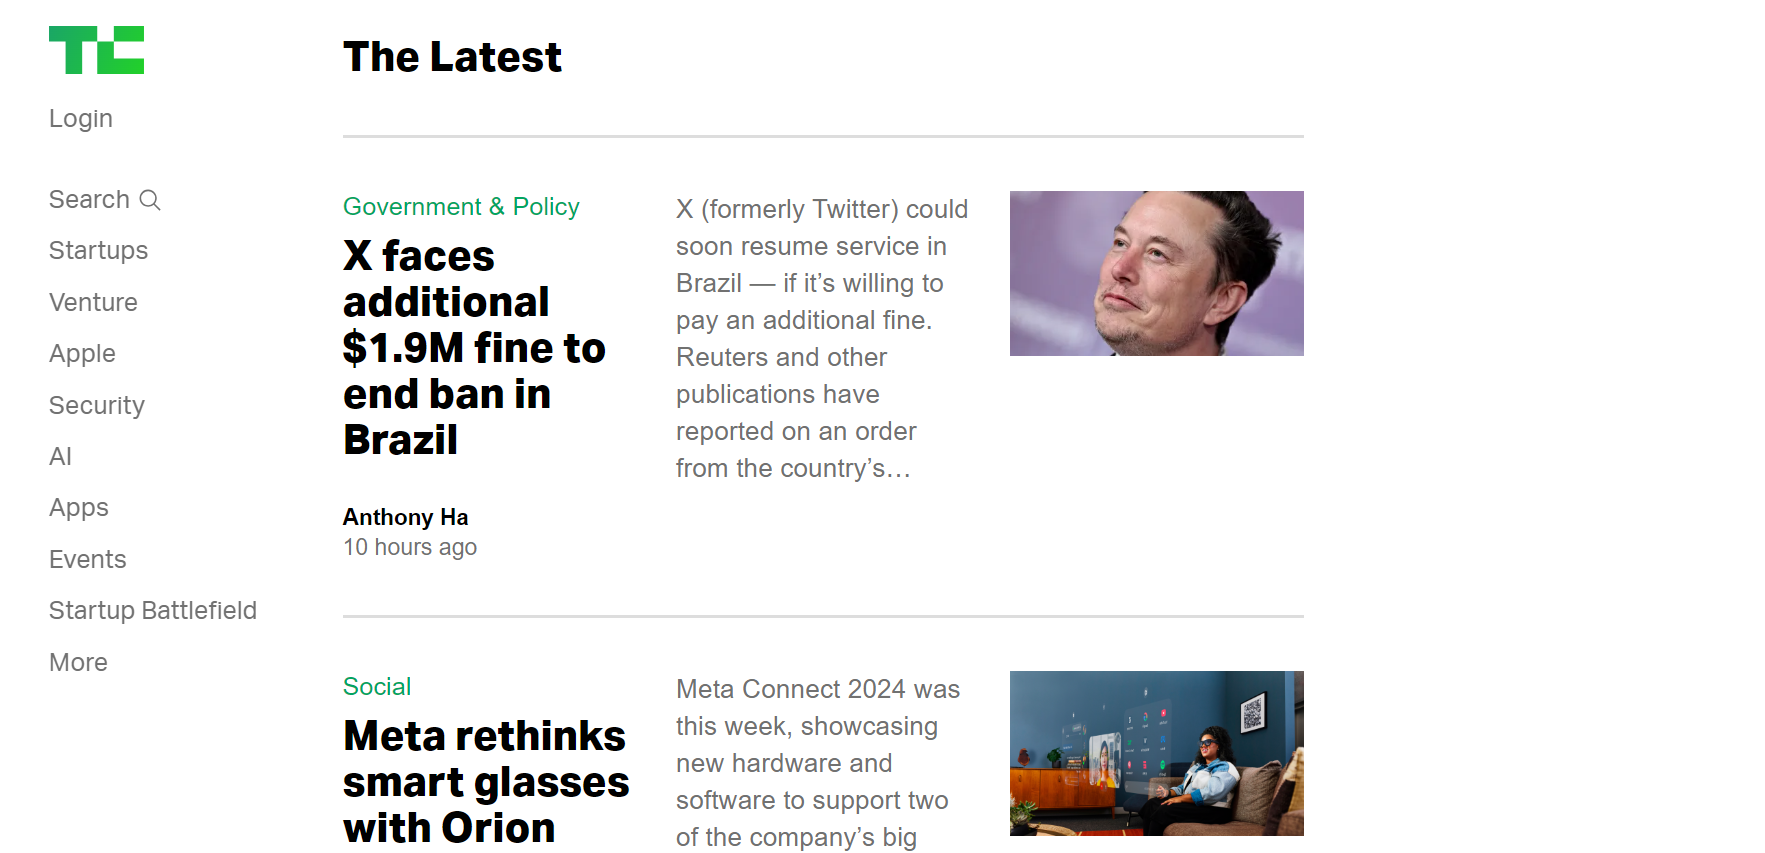
Let’s see how to use AutoScraper to extract news headlines and author names from the TechCrunch website. Here’s what the target page looks like:
1. Setting Up Your Environment
Before you start writing the code, make sure you have the following prerequisites:
- Install the latest version of Python from the official website.
- Choose a code editor, such as VS Code (which I’m using).
Now, to get started with AutoScraper, you need to install it:
pip install autoscraper
2. Providing Target URL and Sample Data
To create a scraper with AutoScraper, you'll need to provide two key pieces of information:
- Target URL: The web page you want to scrape.
- Wanted List: A list of sample data (text, links, images) that you want to extract. This helps AutoScraper understand the structure of the page and identify similar elements.
Once you provide these, AutoScraper will analyze the page and learn how to extract the desired data. This initial process is known as "training" the model.
Let's start by targeting the first article headline on a webpage:
from autoscraper import AutoScraper

# target URL
url = "https://techcrunch.com/"

# keywords to target
wanted_list = ["X faces additional $1.9M fine to end ban in Brazil"]
3. Building the AutoScraper
Now, create an AutoScraper object and train it using the target URL and sample data:
# Create an AutoScraper object
scraper = AutoScraper()

# Build the scraper on the initial URL
result = scraper.build(url, wanted_list)

# Print the scraped data
print(result)
Next, merge this code with the previous section. Your final code should look like this:
from autoscraper import AutoScraper

# target URL
url = "https://techcrunch.com/"

# keywords to target
wanted_list = ["X faces additional $1.9M fine to end ban in Brazil"]

# Create an AutoScraper object
scraper = AutoScraper()

# Build the scraper on the initial URL
result = scraper.build(url, wanted_list)

# Print the scraped data
print(result)
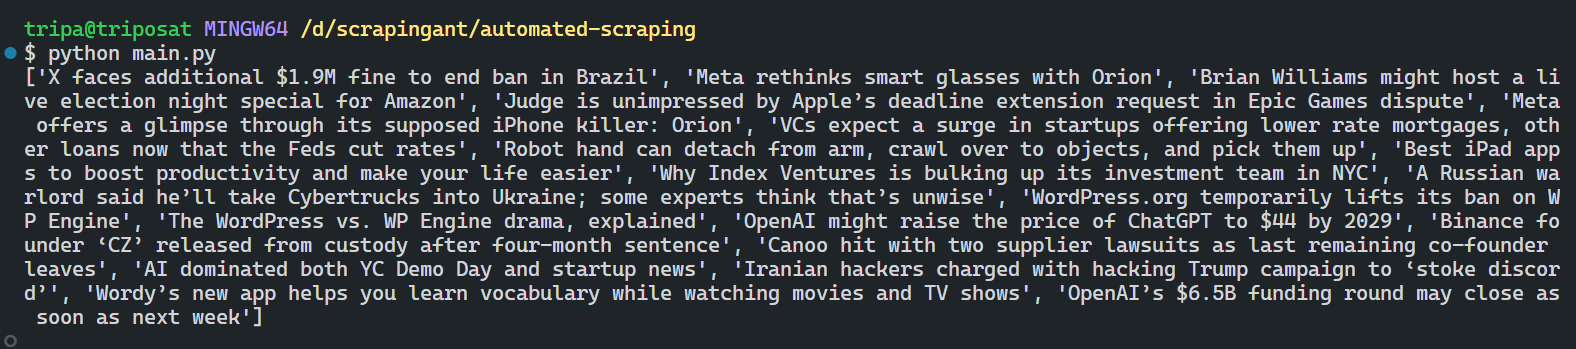
Once you run the script, AutoScraper will analyze the web page and extract the relevant data based on the provided URL and sample data. The scraped data might look something like this:
Great!
Let’s expand our AutoScraper to extract author names as well. To do this, simply add the author’s name to your wanted_list. Here’s the modified code:
from autoscraper import AutoScraper

# target URL
url = "https://techcrunch.com/"

# keywords to target
wanted_list = ["X faces additional $1.9M fine to end ban in Brazil", "Anthony Ha"]

# Create an AutoScraper object
scraper = AutoScraper()

# Build the scraper on the initial URL
result = scraper.build(url, wanted_list)

# Print the scraped data
print(result)
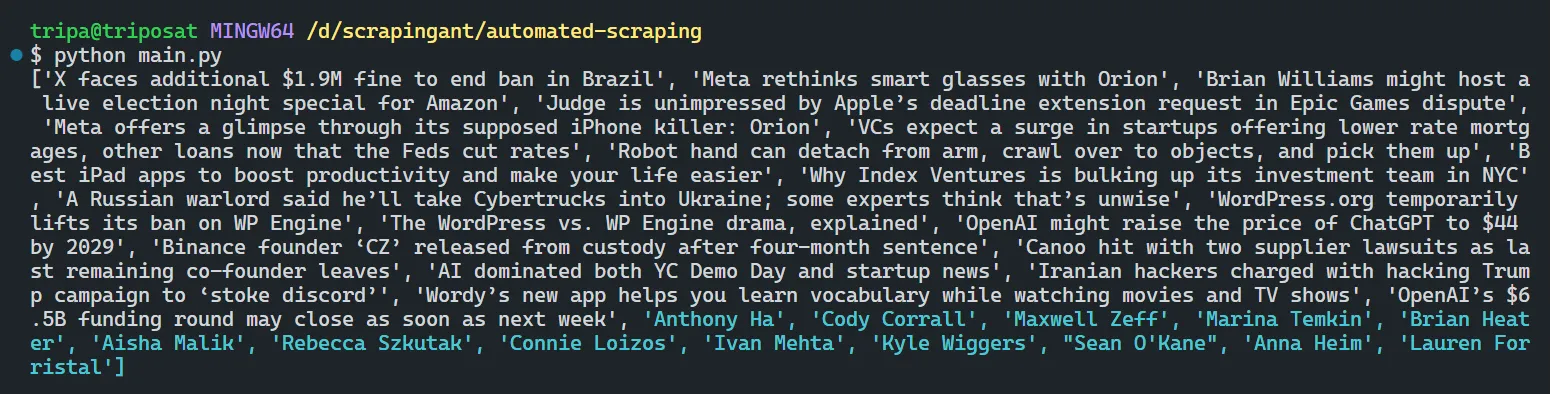
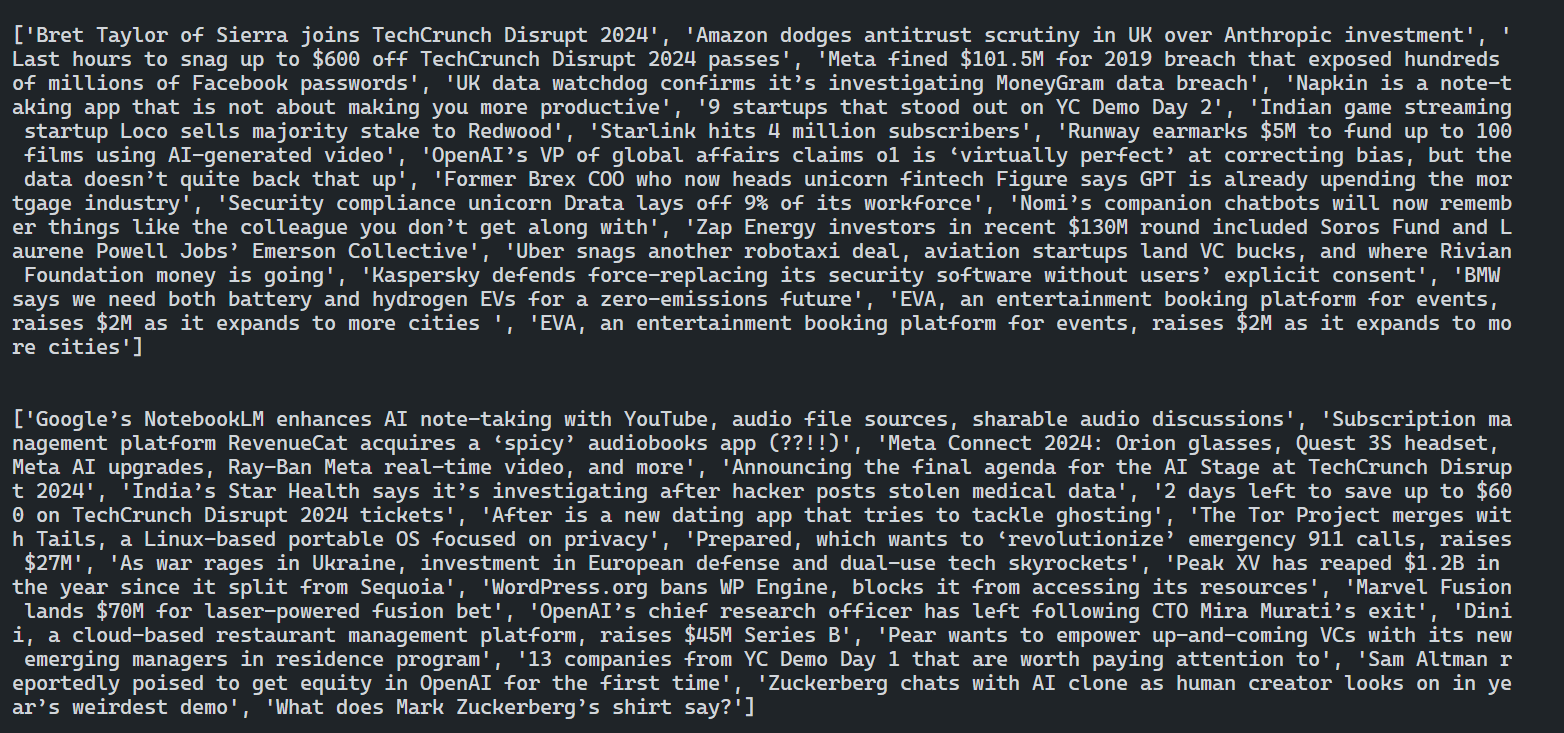
In the output, the author names will be appended to the list of headlines:
4. Extracting Similar Content from Different URLs
Once you've built a scraper for a specific pattern, you can reuse it to extract similar content from web pages with a similar structure.
Suppose, you want to scrape similar content, like news headlines and author names, from other pages, you can easily do so by using the get_result_similar method of AutoScraper. This allows you to apply the trained model to new URLs.
Let's use this method to scrape data from pages 2 and 3 of TechCrunch.
Here’s the modified code:
from autoscraper import AutoScraper

# target URL
url = "https://techcrunch.com/"

# keywords to target
wanted_list = ["X faces additional $1.9M fine to end ban in Brazil"]

# Create an AutoScraper object
scraper = AutoScraper()

# Build the scraper on the initial URL
result = scraper.build(url, wanted_list)

# Print the scraped data
print(result)

# Scraping page 2
page_2_results = scraper.get_result_similar("https://techcrunch.com/page/2/")
print(page_2_results)

# Scraping page 3
page_3_results = scraper.get_result_similar("https://techcrunch.com/page/3/")
print(page_3_results)
The code outputs the news headlines and author names from all the target pages.
Now that you can extract data from multiple pages, let's see how to save this trained model for future use!
5. Saving Your AutoScraper Model
One of the powerful features of AutoScraper is the ability to save models. This allows you to reuse the scraping rules you’ve generated without rebuilding them each time. To save your scraper model, use the save method and specify a file name.
from autoscraper import AutoScraper

url = "https://techcrunch.com/"
wanted_list = ["X faces additional $1.9M fine to end ban in Brazil"]
scraper = AutoScraper()
scraper.build(url, wanted_list)

# Save the scraper model
scraper.save("techcrunch-model")
Your stored model is now ready for reuse!
6. Reusing the Saved Model
Reusing the previously stored model is straightforward. You just need to use the load() method to load the saved model from a file. In this code, we’ll reuse the saved model to scrape content from the fourth page of TechCrunch.
from autoscraper import AutoScraper

# Create an AutoScraper object
scraper = AutoScraper()

# Load the saved model
scraper.load("techcrunch-model")

# Scrape content from the fourth page
result = scraper.get_result_similar("https://techcrunch.com/page/4/")
print(result)
The code scrapes content from the new page based on the trained model:
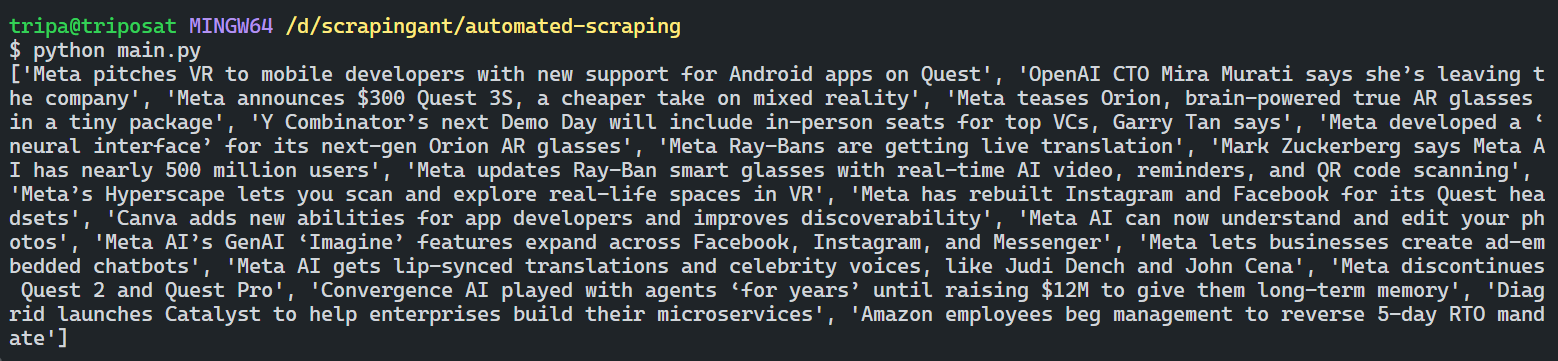
Great! The code is working as expected.
💡Don’t forget to update the
wanted_listif you copy and run this code. The content on the TechCrunch page changes dynamically, so the headlines and author names you're targeting would differ when you try to scrape the data.
Limitations of AutoScraper
AutoScraper is a great tool for web scraping due to its simplicity and ease of use. However, like any tool, it has its limitations:
- Lack of JavaScript Rendering Support: AutoScraper struggles with websites that rely heavily on JavaScript to generate content dynamically. This is because it primarily analyzes the static HTML content of the page.
- Limited Customization and Flexibility: While the simplicity of AutoScraper is great for beginners, advanced users might find it limiting. It offers less control over the extraction process compared to more specialized libraries like Scrapy.
- Data Validation Issues: Automatic rule generation of AutoScraper can sometimes lead to the extraction of incorrect or unwanted data, especially when dealing with complex web page structures or frequent changes.
- Scalability Concerns: AutoScraper works efficiently for small to medium-scale scraping projects. However, for large-scale tasks involving thousands of pages or complex data structures, it may not perform as well.
Avoid Getting Blocked
Websites often employ anti-bot detection methods to stop web scrapers from accessing their content. To avoid being blocked while scraping data, it's important to bypass these detection measures. One effective approach is to use proxies in your web scraper. A proxy changes your IP address, making it appear as if your requests are coming from different locations.
AutoScraper supports proxy implementation. To use proxies with AutoScraper, define your proxy settings and pass them using the request_args argument in the build method. We’re gonna use the free proxy from the Free Proxy List. Grab one for you.
from autoscraper import AutoScraper

# URL of the website to scrape
url = "https://techcrunch.com/"

# Proxy settings for the request
proxies = {
    "http": "http://10.10.1.11:8080",
    "https": "https://10.10.1.12:8080",
}

# List of keywords to search for in the scraped content
wanted_list = [
    "X faces additional $1.9M fine to end ban in Brazil", "Anthony Ha"]

# Initialize the AutoScraper
scraper = AutoScraper()

# Build the scraper with the given URL, keywords, and proxy settings
result = scraper.build(
    url,
    wanted_list=wanted_list,
    request_args=dict(proxies=proxies)
)

# Print the scraping result
print(result)
Note that free proxies often have limited lifespans and may not be reliable for real projects. Consider using premium web scraping proxies. These proxies typically require authentication credentials (usernames and passwords) and offer higher reliability and better performance.
Even premium proxies can sometimes be inefficient when scraping heavily protected websites. In such cases, consider using a web scraping API like ScrapingAnt. ScrapingAnt handles the complexities for you by automatically rotating premium proxies and bypassing CAPTCHAs or other anti-bot systems—all with a single API call.
Using ScrapingAnt Web Scraping API
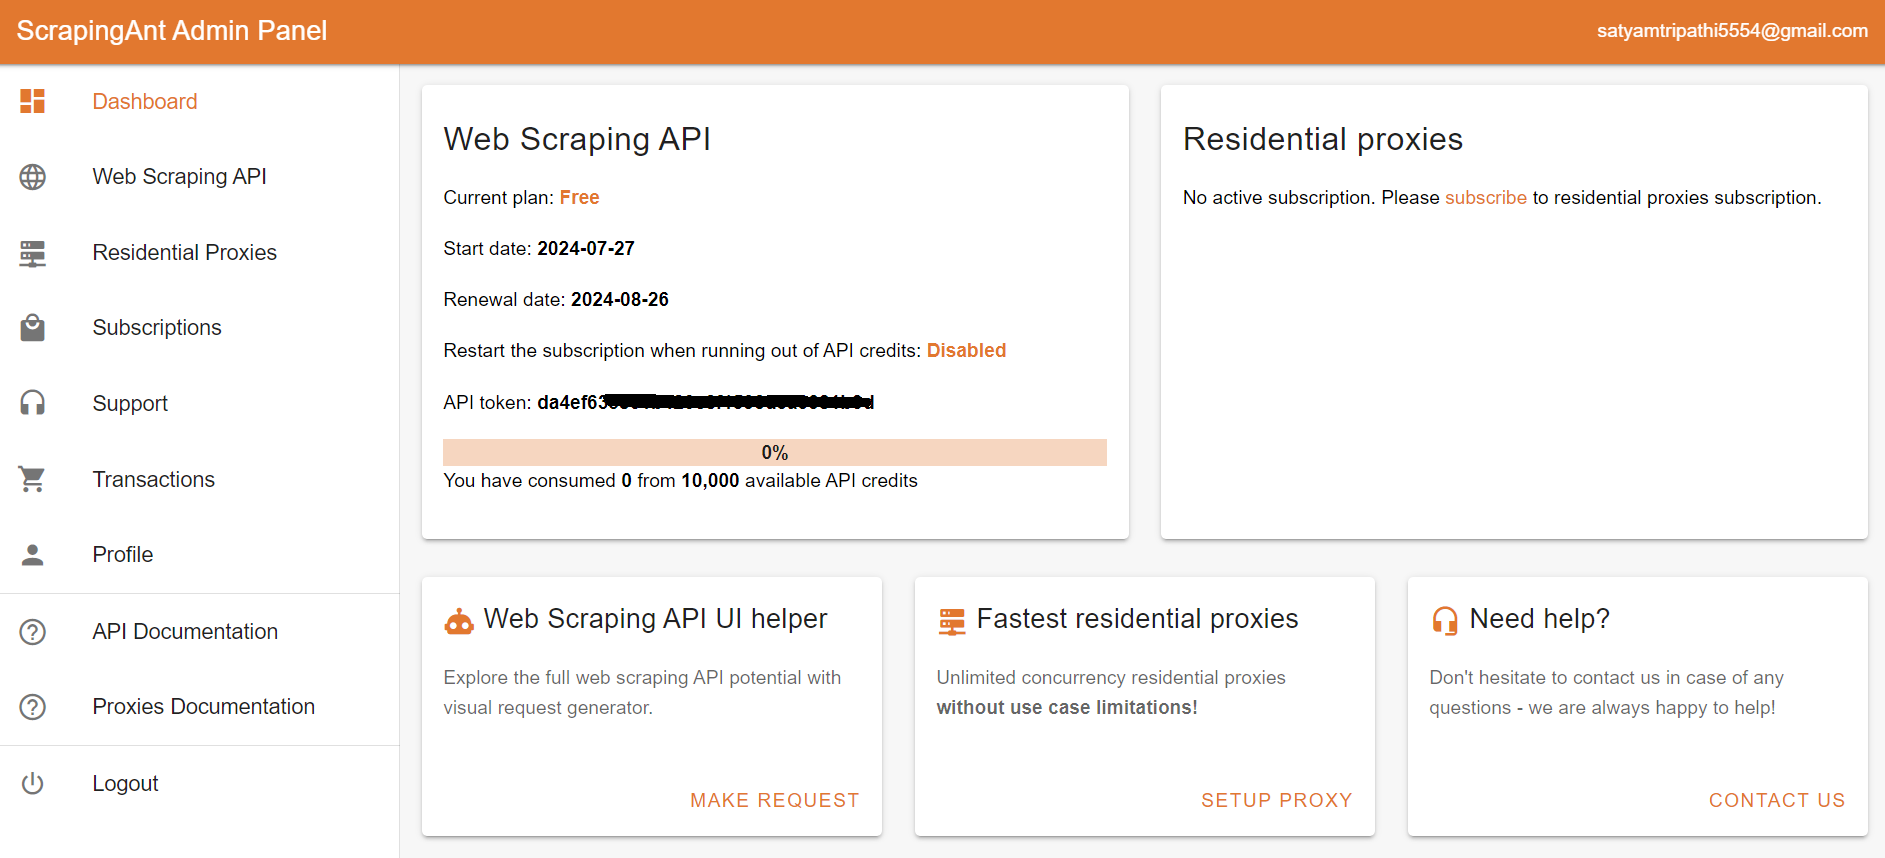
To start using the ScrapingAnt API, you only need two things: the URL you’d like to scrape and the API key, which can be obtained from your ScrapingAnt dashboard after signing up for a free test account.
To integrate the ScrapingAnt API into your Python project, install the Python client scrapingant-client :
pip install scrapingant-client
You can also explore more on the GitHub project page.
The ScrapingAnt API client is straightforward to use, supporting various input and output formats as described on the Request and Response Format page. Below is a simple example demonstrating its usage:
from scrapingant_client import ScrapingAntClient

client = ScrapingAntClient(token="YOUR_SCRAPINGANT_API_KEY")

response = client.general_request(
    "https://www.amazon.com/Dowinx-Headrest-Ergonomic-Computer-Footrest/dp/B0CVWXK632/"
)
print(response.content)
Here's our result:

This shows how ScrapingAnt simplifies the web scraping process by handling the complexities for you.
Conclusion
Overall, AutoScraper is a valuable tool for many web scraping tasks, but it's essential to be aware of its limitations and choose the right tool for your specific needs.