
Part 1 of this series discussed setting up and running local models with Ollama to extract data from complex local documents such as HTML and JSON. This part will focus on using API-based models for more efficient web scraping.
Although various API-based models are available, including OpenAI, Gemini, and Groq, we will use OpenAI models for this tutorial. Specifically, gpt-4o-mini is an excellent choice due to its cost-effectiveness and performance for fast, lightweight tasks.
Scraping the Web
Let’s learn how to scrape data from a website using API-based models. For example, let’s extract information from Hacker News articles.
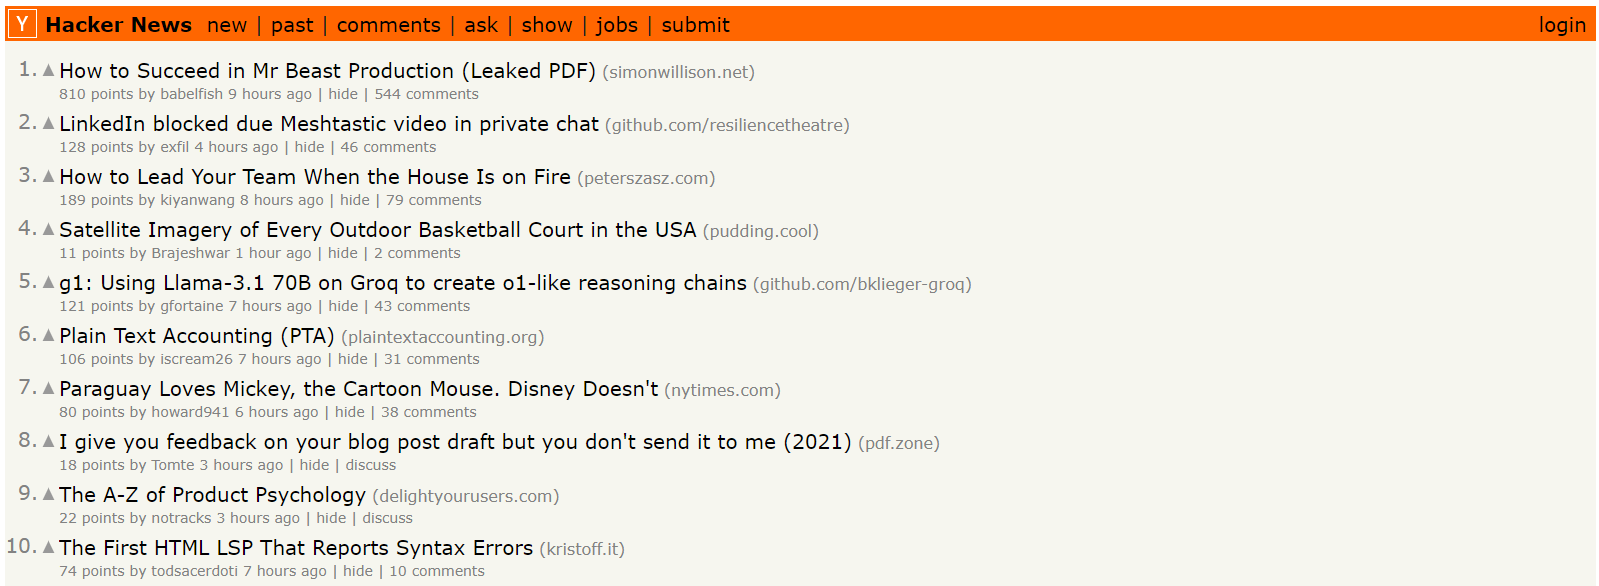
To get started, provide the URL of the website from which you want to extract data. You will then specify a prompt, such as “List me all titles, scores, etc.” This prompt tells the AI about the data to focus on during extraction.
💡To use GPT-based models, you'll need an API key, which you can get from OpenAI. You need to purchase API credits to use an OpenAI API key, which means you will be charged based on the number of tokens processed.
We’ll use the SmartScraperGraph pipeline, which is designed for extracting data from a single page based on a user-defined prompt and source URL.
Here’s the code:
import os
import json
from dotenv import load_dotenv
from scrapegraphai.graphs import SmartScraperGraph
from scrapegraphai.utils import prettify_exec_info

# Load environment variables
load_dotenv()

# Define the configuration for the graph
graph_config = {
    "llm": {
        "api_key": os.getenv("OPENAI_API_KEY"),  # Use the OpenAI API key
        "model": "openai/gpt-4o-mini",  # Specify the model to use
    },
    "verbose": True,  # Enable verbose mode for detailed output
    "headless": True,  # Run the search in headless mode
}

# Create the SmartScraperGraph instance and run it
smart_scraper_graph = SmartScraperGraph(
    prompt="List me all the news title, url, and score.",
    source="https://news.ycombinator.com/",
    config=graph_config,
)

result = smart_scraper_graph.run()
print(json.dumps(result, indent=4))

# Get graph execution info
graph_exec_info = smart_scraper_graph.get_execution_info()
print(prettify_exec_info(graph_exec_info))
It's best practice to store your API key in a .env file and load it into your script using load_dotenv, as shown in the code. Next, define your graph configuration with the chosen model and API key.
You can also pass parameters, such as headless=False, to see the browser windows while the script interacts with the web page. You can set it to True to run the browser in the background without displaying windows. We will cover more such parameters later on.
After running the script, you'll get output in JSON format, displaying the titles, URLs, and scores as shown below:
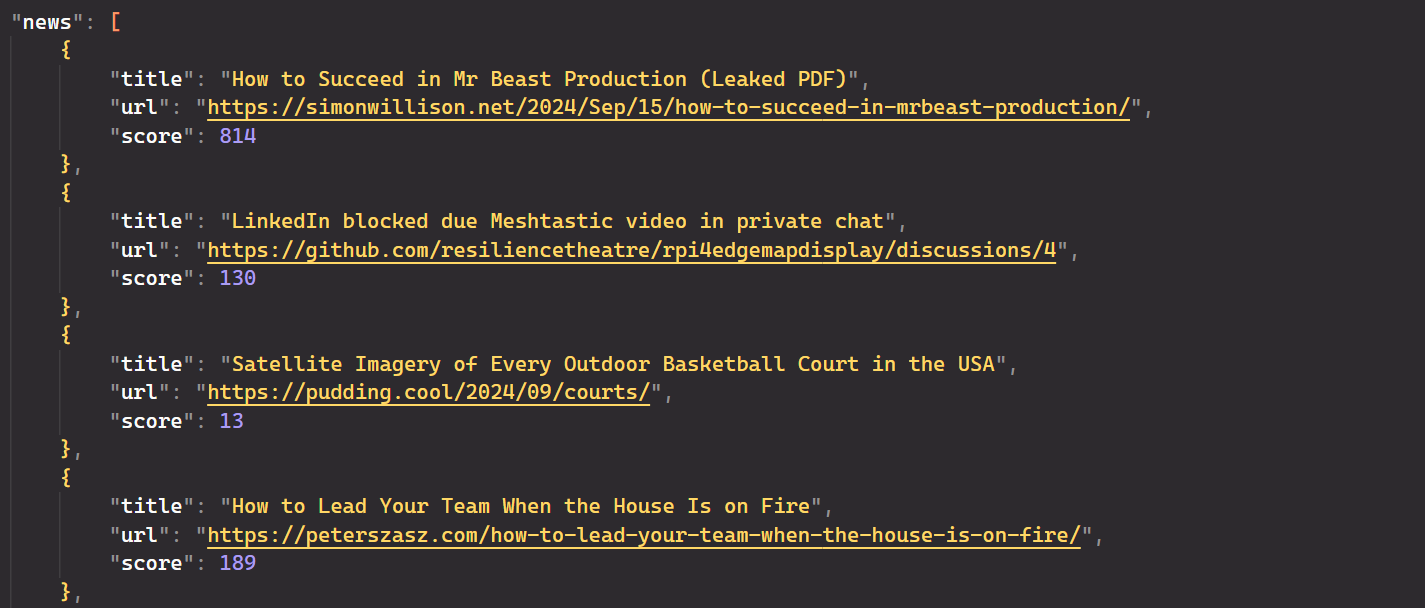
Yes, it’s that simple! It eliminates the need for CSS or XPath selectors; you only need to provide a simple English prompt, and the AI handles the rest.
Additional Parameters
You can customize the behaviour of the scraping pipelines with various configuration options:
- verbose: When set to
True, debug information is printed to the console. - headless: When set to
False, the browser opens with a visible GUI and closes right after the HTML is fetched. - max_results: Limits the number of results to be fetched from the search engine, useful in
SearchGraph. - output_path: Path where the output files will be saved, applicable in
SpeechGraph. - loader_kwargs: Additional parameters for the
Loaderclass, such as proxies. We’ll see it later in detail. - max_images: Limits the number of images analyzed, used in
OmniScraperGraphandOmniSearchGraph. - cache_path: Specifies the path for saving and loading cache files.
Scraping Multiple Sources
The previously discussed code only scrapes articles from the first page of Hacker News. To gather data from multiple pages, you can use the SmartScraperMultiGraph module. This module requires only a user prompt and a list of URLs. The configuration settings remain the same as in previous setups, with a few changes.
Here’s the code:
import os
import json
from dotenv import load_dotenv
from scrapegraphai.graphs import SmartScraperMultiGraph

load_dotenv()

openai_key = os.getenv("OPENAI_API_KEY")

# Define the configuration for the graph
graph_config = {
    "llm": {
        "api_key": openai_key,
        "model": "openai/gpt-4o-mini",
    },
    "verbose": True,
    "headless": False,
}

# Create the SmartScraperMultiGraph instance and run it
multiple_search_graph = SmartScraperMultiGraph(
    prompt="List me all the news title, url, and score.",
    source=[
        "https://news.ycombinator.com/",
        "https://news.ycombinator.com/?p=2",
        "https://news.ycombinator.com/?p=3",
    ],
    schema=None,
    config=graph_config,
)

result = multiple_search_graph.run()
print(json.dumps(result, indent=4))
Run the script, and it will process and extract relevant data from all the URLs you provided.
Scraping Search Results
The SearchGraph module is great for searching the internet based on a given prompt. For example, if you're looking to buy office chairs, you can use a prompt like "best office chairs" to get detailed information about top options. You can further refine your search query, such as filtering chairs with ratings above 4.5 or prices under 10,000 INR.
Here’s the code:
import os
import json
from dotenv import load_dotenv
from scrapegraphai.graphs import SearchGraph

load_dotenv()

openai_key = os.getenv("OPENAI_API_KEY")

# Configuration for the search graph
graph_config = {
    "llm": {
        "api_key": openai_key,
        "model": "openai/gpt-4o-mini",
    },
    "verbose": True,
    "headless": True,  # Run the search in headless mode
}

# Initialize the search graph with the prompt and configuration
search_graph = SearchGraph(
    prompt="List me the best office chairs", config=graph_config  # The search prompt
)

# Run the search graph
result = search_graph.run()
print(json.dumps(result, indent=4))
The output is:
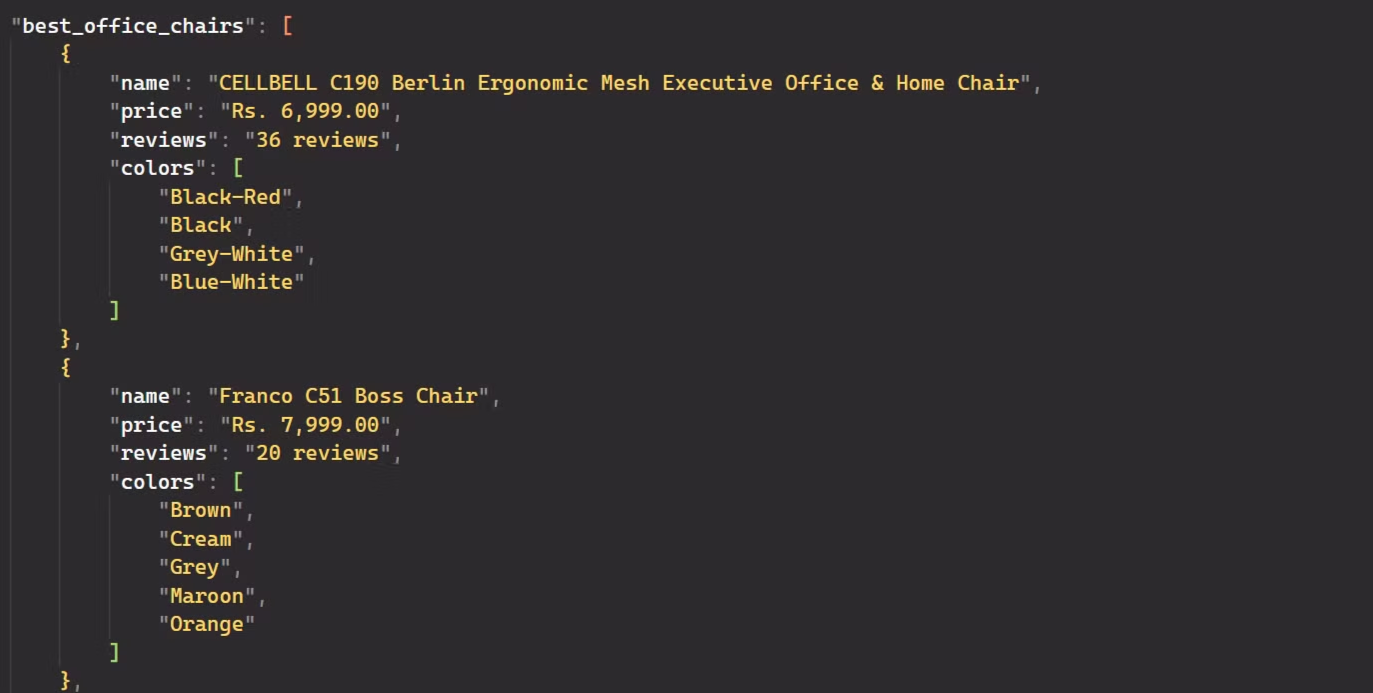
Awesome! The code extracted detailed information about the best office chairs, such as their names, prices, reviews, and the number of colors available.
Text-to-Speech Generation
Wouldn’t it be great to listen to summaries of news titles? This is possible with the SpeechGraph module, which not only scrapes the web and provides answers to given prompts but also generates an audio file of the text.
The SpeechGraph module requires a few additional configurations compared to what we’ve seen previously. You need to specify the Text-to-Speech (TTS) model for converting text to speech and select voice settings for the audio output.
You can choose a TTS model from the available options, such as tts-1-hd, which is designed for high-quality, natural-sounding speech. Additionally, you can pick a voice from the voice options like alloy, echo, or fable to your preferred tone.
By default, the module outputs an MP3 file of the spoken audio, but it can be configured to produce other supported formats if needed.
Here’s the code:
import os
from dotenv import load_dotenv
from scrapegraphai.graphs import SpeechGraph
from scrapegraphai.utils import prettify_exec_info

load_dotenv()
openai_key = os.getenv("OPENAI_API_KEY")

# Define audio output path
FILE_NAME = "news_summary.mp3"
curr_dir = os.path.dirname(os.path.realpath(__file__))
output_path = os.path.join(curr_dir, FILE_NAME)

# Configuration dictionary for the SpeechGraph
graph_config = {
    # Configuration for the language model (LLM)
    "llm": {
        "api_key": openai_key,
        "model": "openai/gpt-4o-mini",  # Model used for generating text
        "temperature": 0.7,
    },
    # Configuration for the text-to-speech (TTS) model
    "tts_model": {
        "api_key": openai_key,  # API key for accessing the TTS service
        "model": "tts-1",  # TTS model used for converting text to speech
        "voice": "alloy",  # Voice style used in the TTS output
    },
    "output_path": output_path,  # Path where the generated audio file will be saved
}

# Create the SpeechGraph instance and run it
speech_graph = SpeechGraph(
    prompt="Make a detailed audio summary of the news titles.",
    source="https://news.ycombinator.com/",
    config=graph_config,
)

result = speech_graph.run()
print(result)

# Get graph execution info and prettify it
graph_exec_info = speech_graph.get_execution_info()
print(prettify_exec_info(graph_exec_info))
After running the code, you'll get a detailed summary of the news titles in both text and audio formats.
Project: Building an AI-Powered Glassdoor Job Scraper
In this project, we’ll use our knowledge of ScrapeGraphAI to build an app for job seekers. Specifically, we will develop an AI-powered scraper to collect job data from Glassdoor. Suppose you are a data engineer searching for jobs in London with a minimum company rating of 4 stars. You can apply these filters on Glassdoor to get the relevant results as shown below:
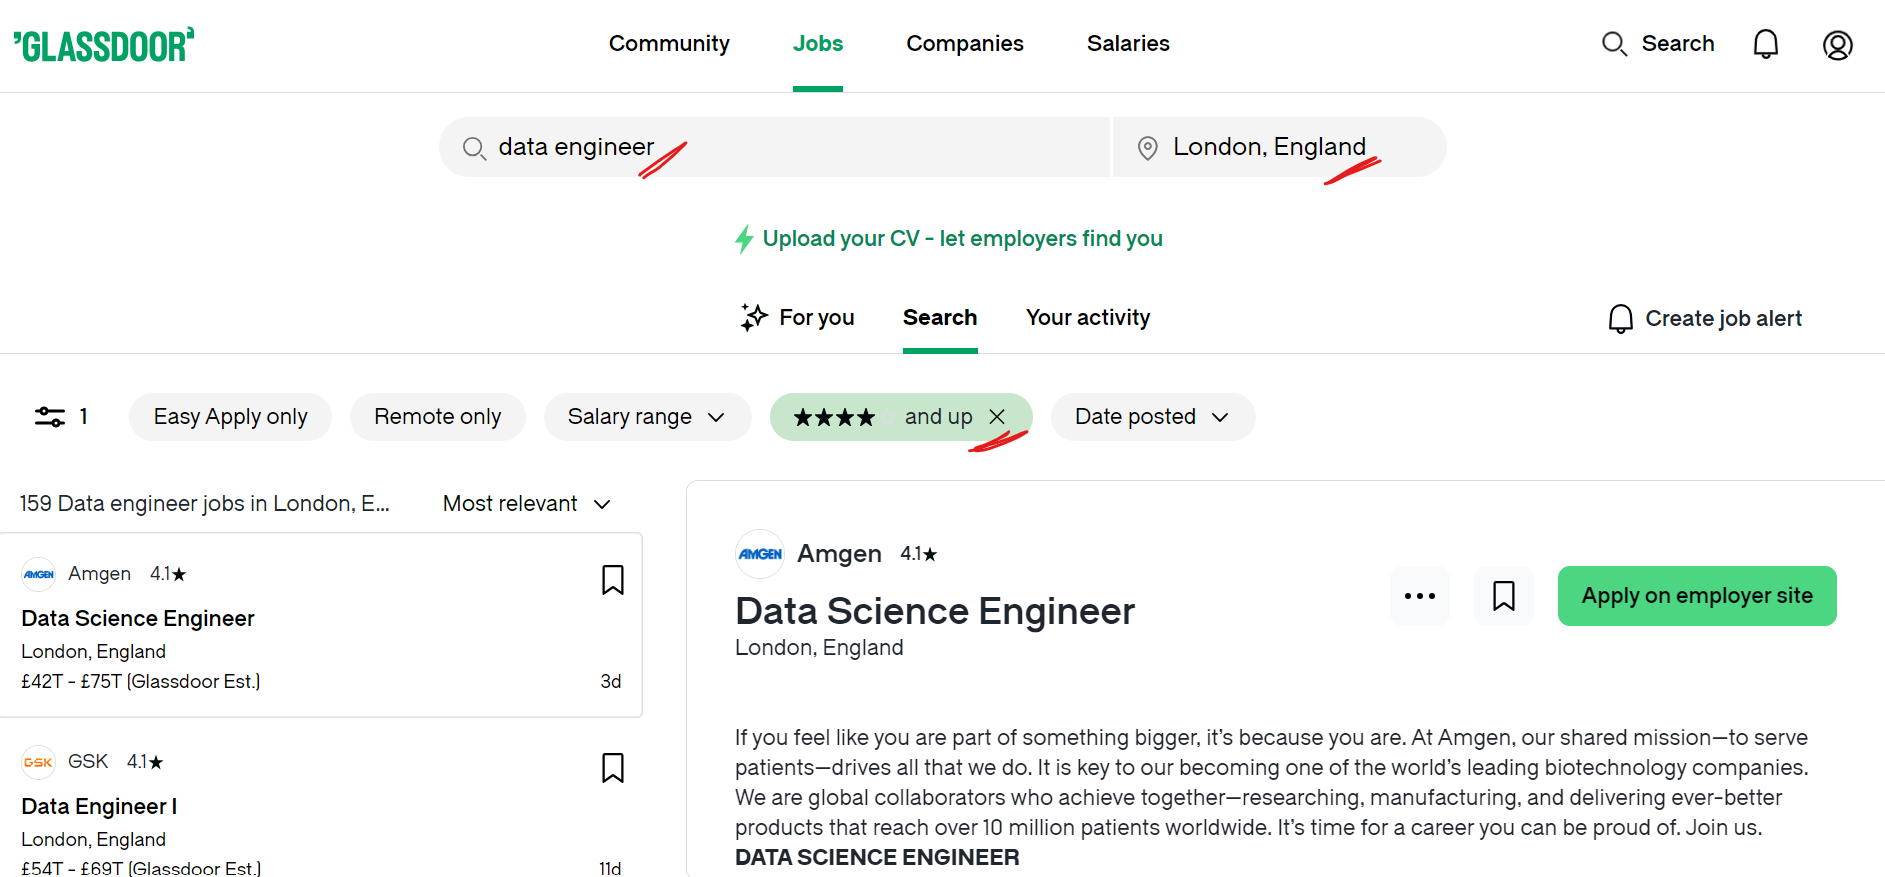
We will automate the process of scraping job listings from Glassdoor and save the data in a JSON file. Here’s how we’ll do this.
Step 1: After applying filters on Glassdoor, the URL looks like this:
https://www.glassdoor.co.in/Job/london-england-uk-data-engineer-jobs-SRCH_IL.0,17_IC2671300_KO18,31.htm?minRating=4.0
Step 2: Glassdoor uses pagination to display job listings, with only 30 results per page. For example, if there are 200 companies listed, the data will be spread across 6-7 pages. Our scraper must effectively handle this pagination to collect data from all pages. Additionally, we need to manage overlays that appear, such as sign-up prompts, by closing them with the cross button.
# Handle dynamic content loading
has_more_jobs = True
while has_more_jobs:
    modal_overlay = await page.query_selector("button.CloseButton")
    if modal_overlay:
        await modal_overlay.click()
    show_more_button = await page.query_selector('button[data-test="load-more"]')
    if show_more_button:
        await show_more_button.click()
    else:
        has_more_jobs = False
Step 3: Workflow
- We’ll create a Streamlit app where users input the job search URL and specify the data they want to extract.
- The app uses Playwright to navigate through the pages, handle dynamic content, and save the HTML to a file.
- The saved HTML file is processed by SmartScraperGraph to extract the requested job information.
- The extracted data is saved to a JSON file and displayed in the app.
Here’s the complete code for this project.
main.py:
from playwright.async_api import async_playwright
from scrapegraphai.graphs import SmartScraperGraph
from dotenv import load_dotenv
import streamlit as st
import nest_asyncio
import asyncio
import os
import json
# Ensure compatibility with Windows event loop
asyncio.set_event_loop_policy(asyncio.WindowsProactorEventLoopPolicy())
nest_asyncio.apply()
# Set up Streamlit app title and caption
st.title("AI Glassdoor Job Scraper")
st.caption("This LLM-powered scraper extracts data on companies currently hiring!")
# Load API key from environment variables
load_dotenv()
openai_key = os.getenv("OPENAI_API_KEY")
# Configuration for the SmartScraperGraph
graph_config = {
"llm": {
"api_key": openai_key,
"model": "openai/gpt-4o-mini",
},
"verbose": True,
"headless": False,
}
async def process_html(html_file_path, user_prompt):
# Read HTML content from file
curr_dir = os.path.dirname(os.path.realpath(__file__))
file_path = os.path.join(curr_dir, html_file_path)
with open(file_path, "r", encoding="utf-8") as file:
text = file.read()
# Initialize and run SmartScraperGraph
smart_scraper_graph = SmartScraperGraph(
prompt=f"List me all the {user_prompt}",
source=text,
config=graph_config,
)
result = smart_scraper_graph.run()
# Save the result to a JSON file
output_file = os.path.join(curr_dir, "extracted_data.json")
with open(output_file, "w", encoding="utf-8") as json_file:
json.dump(result, json_file, ensure_ascii=False, indent=4)
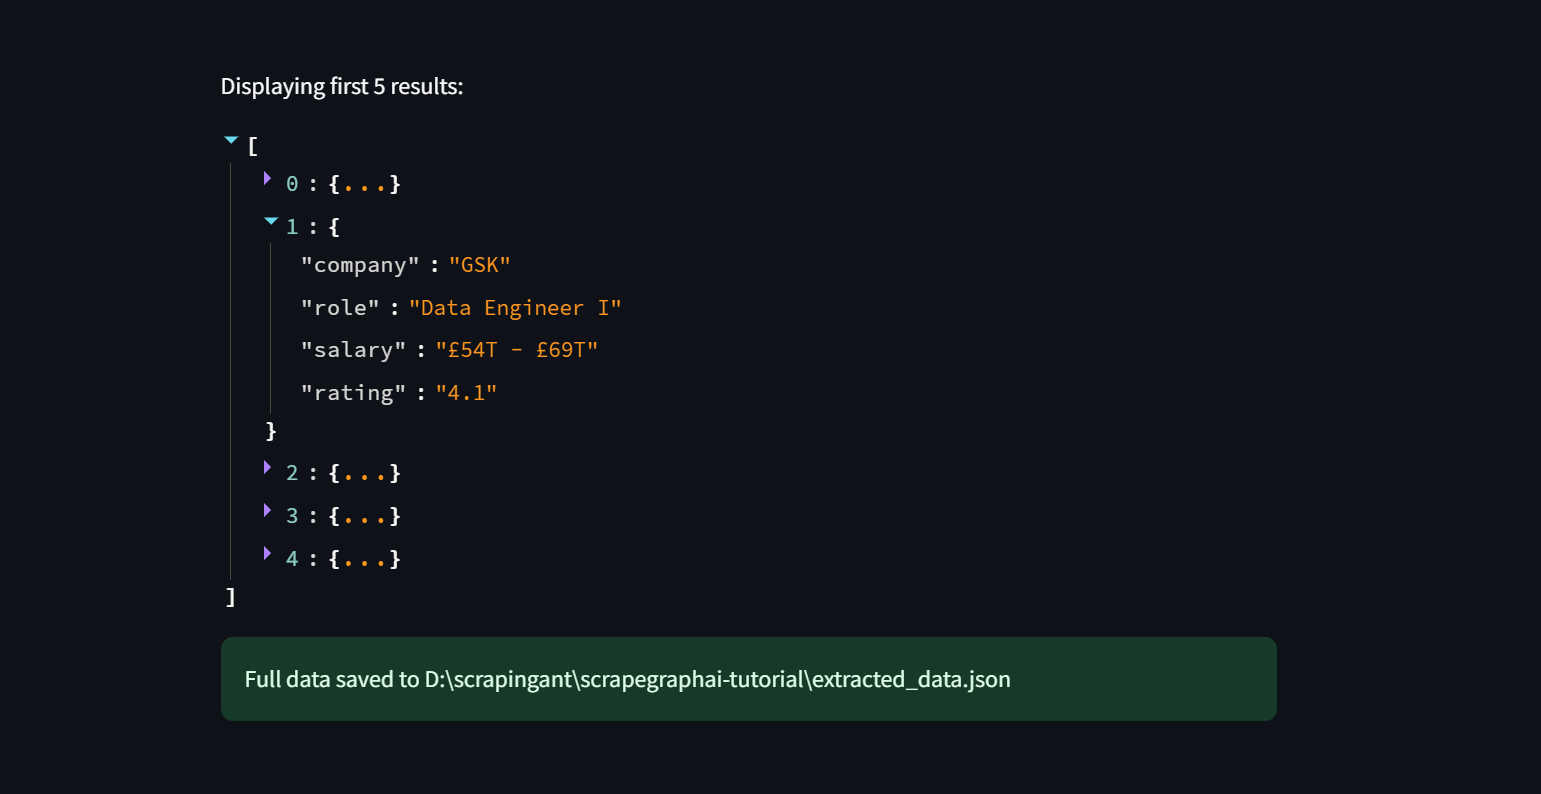
st.write("Displaying first 5 results:")
if isinstance(result, dict) and "jobs" in result:
jobs_to_display = result["jobs"][:5]
st.json(jobs_to_display)
else:
st.write("No jobs data available.")
st.success(f"Full data saved to {output_file}")
async def scrape_data(url, user_prompt):
async with async_playwright() as p:
browser = await p.chromium.launch(headless=False)
page = await browser.new_page()
await page.goto(url)
# Handle dynamic content loading
has_more_jobs = True
while has_more_jobs:
modal_overlay = await page.query_selector("button.CloseButton")
if modal_overlay:
await modal_overlay.click()
await page.wait_for_timeout(1000)
show_more_button = await page.query_selector(
'button[data-test="load-more"]'
)
if show_more_button:
await show_more_button.click()
await page.wait_for_timeout(2000)
else:
has_more_jobs = False
# Save page content to HTML file
html_content = await page.content()
html_file_path = "page_content.html"
with open(html_file_path, "w", encoding="utf-8") as f:
f.write(html_content)
await browser.close()
# Process the saved HTML file
await process_html(html_file_path, user_prompt)
# Streamlit input fields and button
url = st.text_input("Please provide the Glassdoor job search URL:")
user_prompt = st.text_input(
"Specify what to scrape (e.g., company name, role, rating, salary):"
)
if st.button("Start Scraping"):
if url and user_prompt:
with st.spinner("Scraping in progress..."):
asyncio.run(scrape_data(url, user_prompt))
else:
st.error("Please provide both the URL and scraping details.")
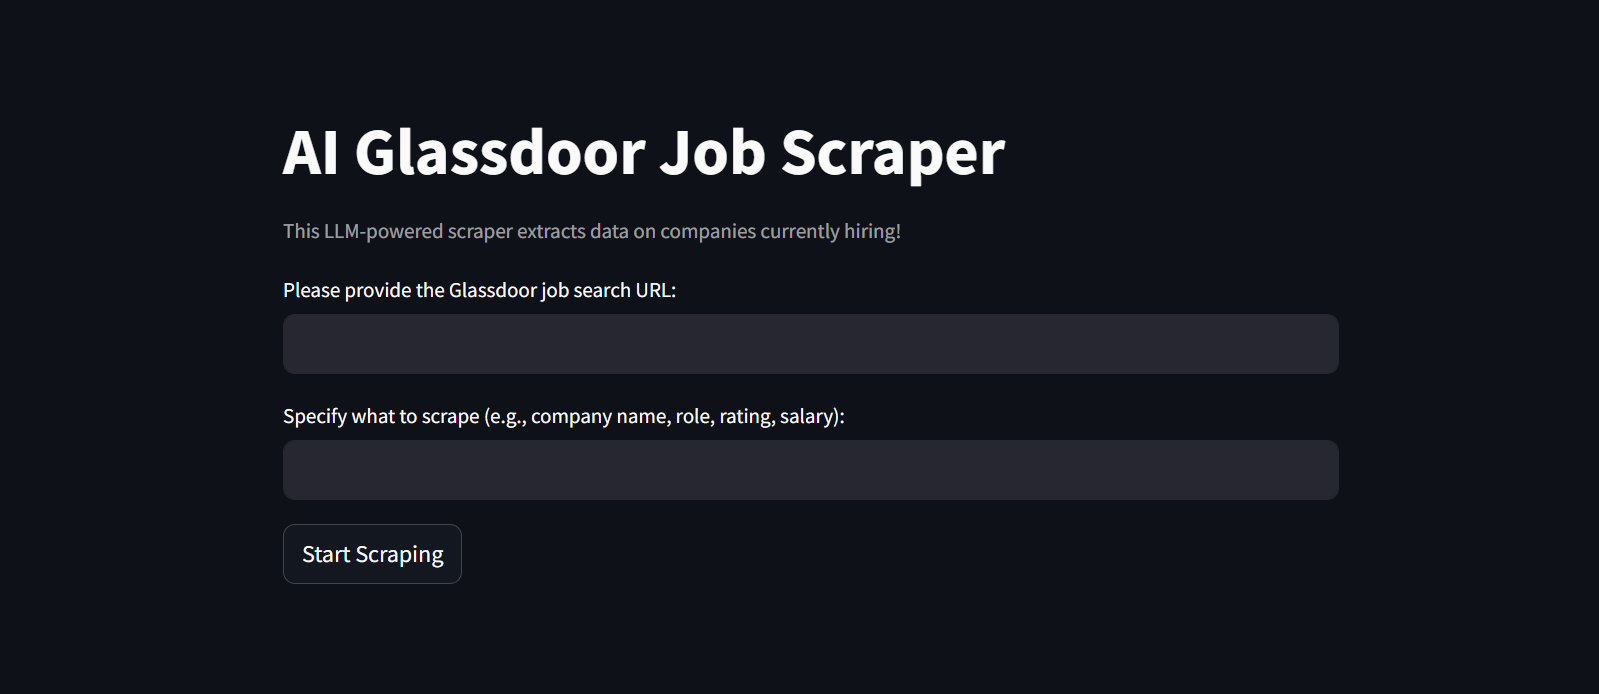
When you run the code using the command:
streamlit run main.py
Initially, you will see an interface that looks like this:
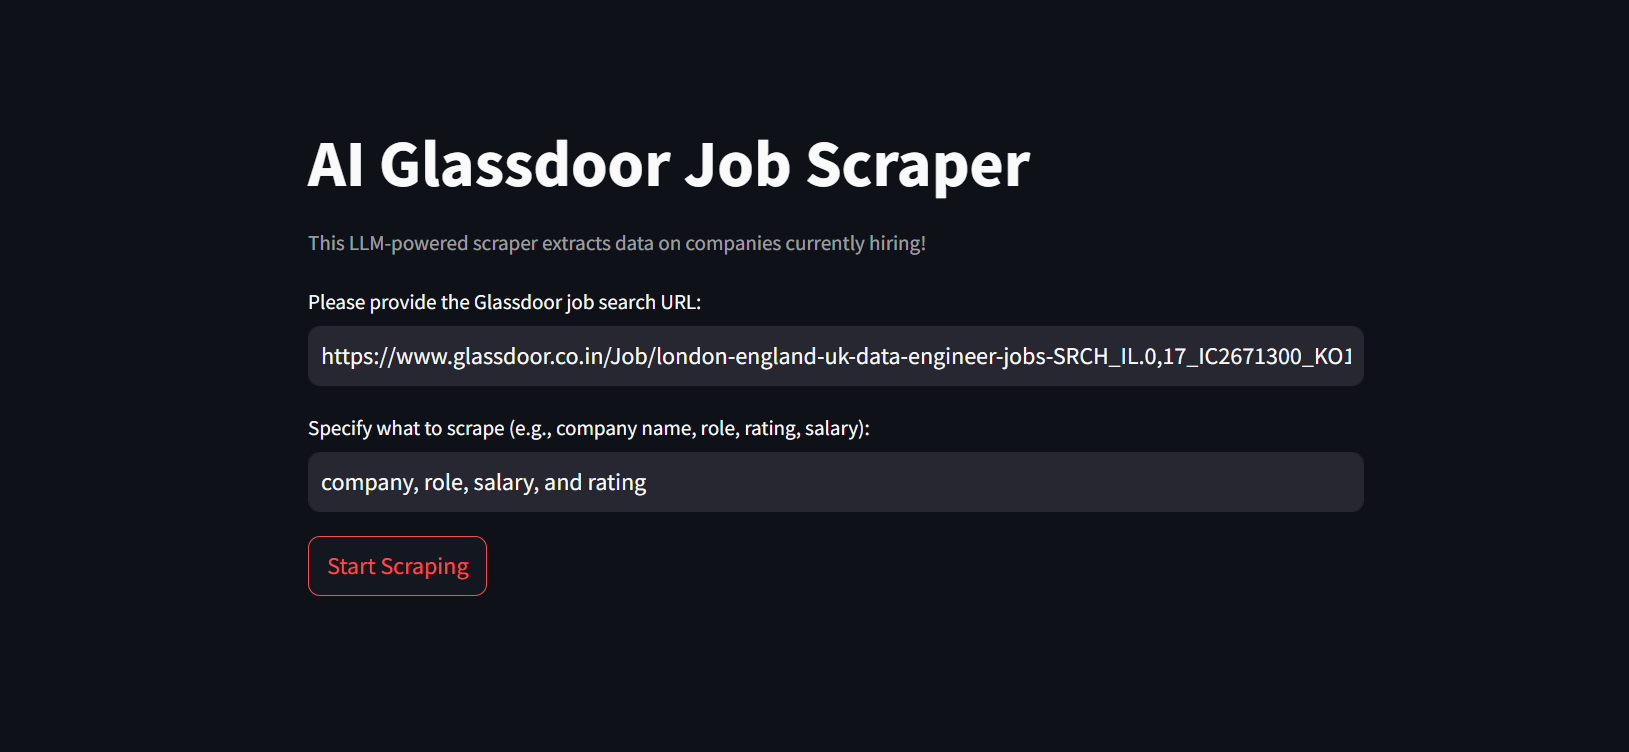
Next, provide the required input fields and hit the "Start Scraping" button.
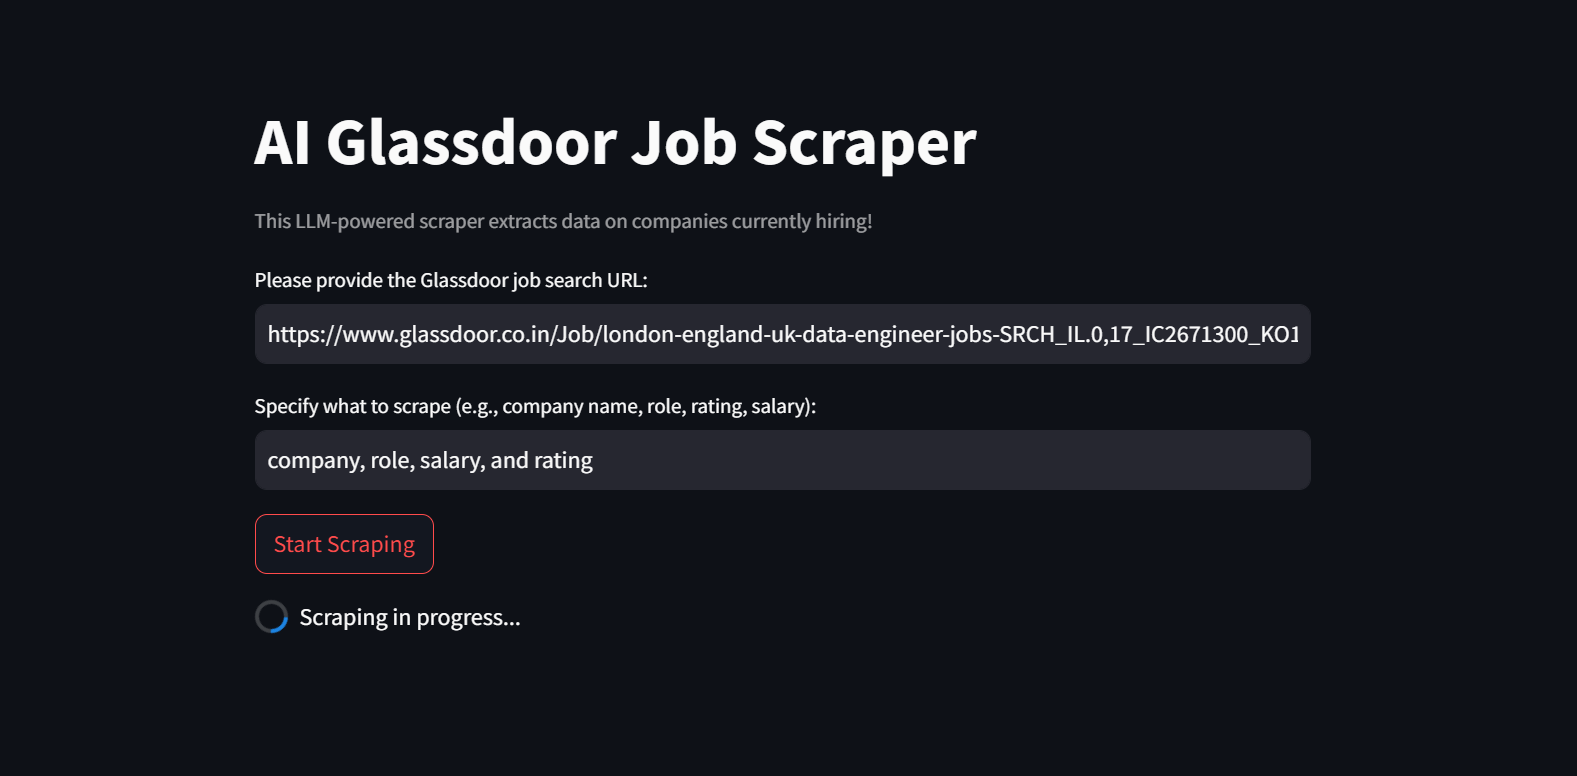
The app will begin the scraping process. This may take some time, so please be patient.
Finally, the data will be displayed in the app and saved to a JSON file.
Note that, when scraping Glassdoor, you may encounter issues such as IP blocks or CAPTCHA challenges if you send too many requests too quickly. Proxies are one of the best ways to avoid being blocked when web scraping.
Proxies can help you by hiding your real IP and making it seem like your requests are coming from different locations. This way, you can avoid getting blocked and access data restricted by region.
Integrating Proxies
ScrapeGraphAI provides proxy integration and rotation in your projects through the proxy option in the graph configuration. It offers a free proxy service, based on the free-proxy library, which you can use as follows:
graph_config = {
    "llm":{...},
    "loader_kwargs": {
        "proxy" : {
            "server": "broker",
            "criteria": {
                "anonymous": True,
                "secure": True,
                "countryset": {"IT"},
                "timeout": 10.0,
                "max_shape": 3
            },
        },
    },
}
Free proxies are not reliable and often get blocked quickly. For a more reliable solution, check out premium services like ScrapingAnt. These services offer better anonymity, which is useful for scraping sites with advanced security measures.
To use premium proxies, you’ll need to set up your configuration with details like server address, username, and password. This way, all your requests will go through the proxy server, keeping your scraping activities under the hood.
graph_config = {
    "llm":{...},
    "loader_kwargs": {
        "proxy" : {
            "server": "http://your_proxy_server:port",
            "username": "your_username",
            "password": "your_password",
        },
    },
}
To add a premium residential proxy from ScrapingAnt, go to the Dashboard and then click on the "Proxy" tab.
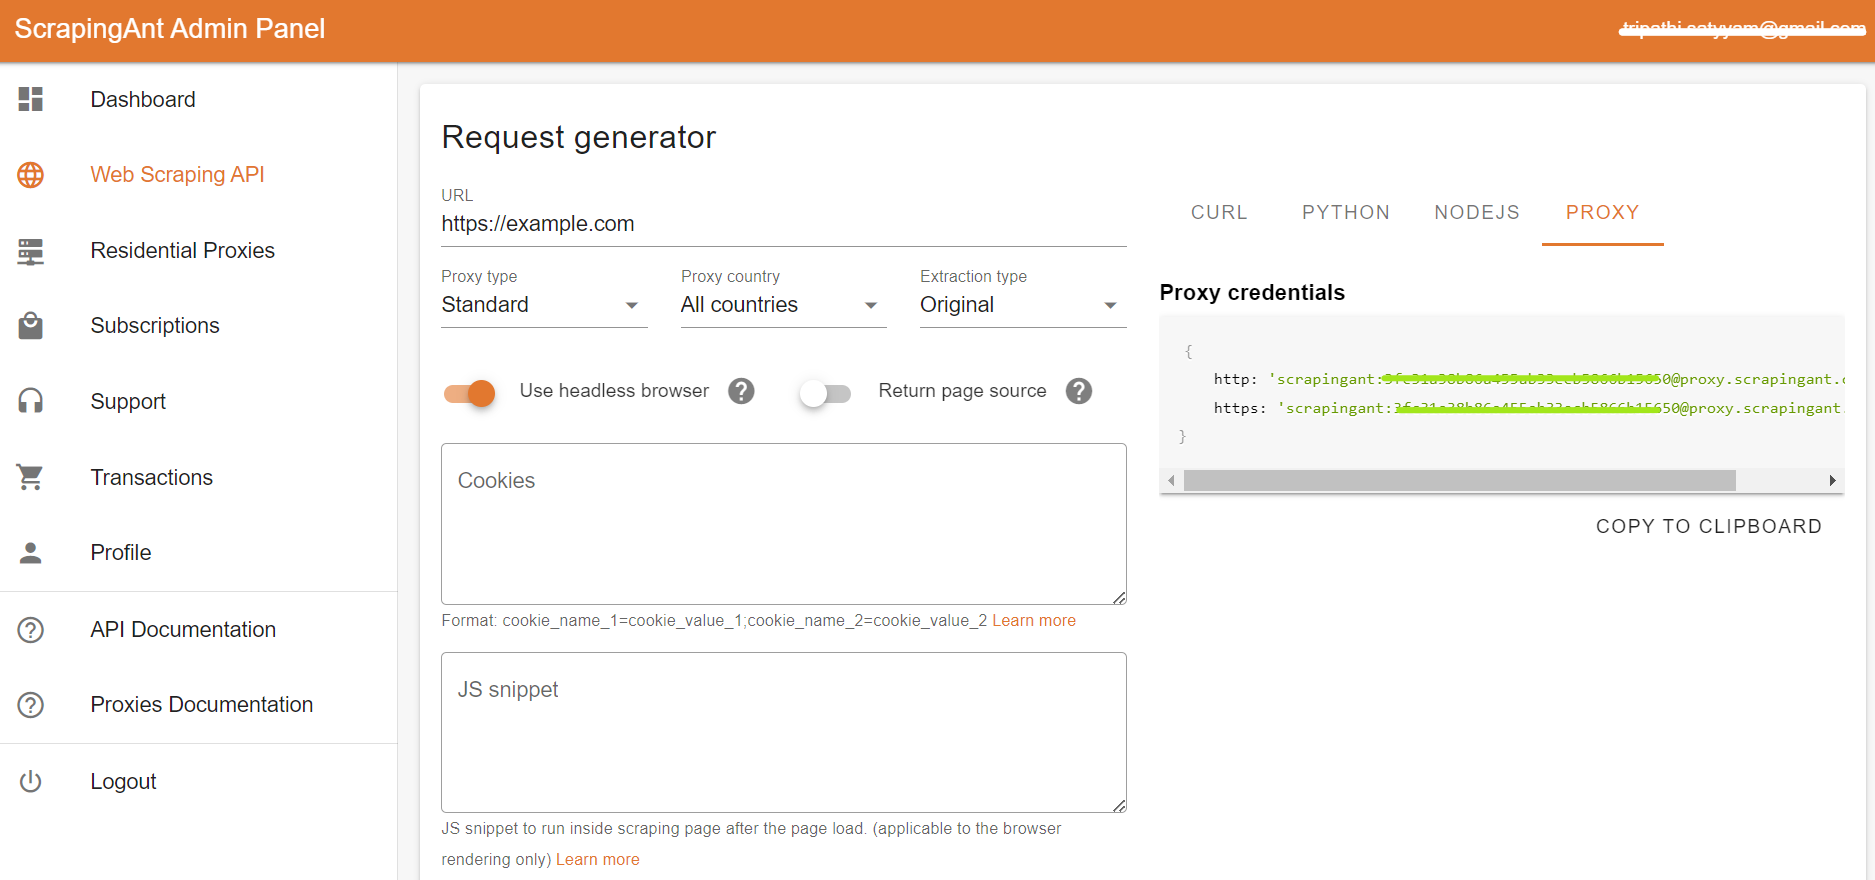
Finally, grab your proxy credentials and use them in your project.
{
    http: 'scrapingant:xxxxxxa455ab33ecxxxxx0@proxy.scrapingant.com:8080',
    https: 'scrapingant:xxxxxxa455ab33ecxxxxx@proxy.scrapingant.com:443'
}
Wrapping Up
This 2-part series discussed how effectively you can extract data using local models or API-based models like GPT, simply by using English prompts. We also explored how ScrapeGraphAI can parse complex documents and websites with ease using LLMs.
Don’t forget to check out ScrapingAnt for your next project 🚀
Happy Scraping!